How to choose a frame push pull solenoid?
The right frame push pull solenoid is picked according to its mechanical and electrical parameters matching the needs of your application. Below you will find a table that illustrates the main points and their explanation.
Step 1: Define Your Mechanical Requirements
This step is all about your solenoid’s physical performance.
Choosing Action Type: You need to decide if your mechanism requires pushing action (moving, separating) or pulling (locking, latching) action, or if it will work both ways as many “push-pull” solenoids can.
Determine Force and Stroke: The most important step.
Force: Discover the minimum force you need from your solenoid. Solenoid force decreases along the stroke. At the beginning of the process, it reaches maximum value. However, further it decreases and becomes minimal at the end of the stroke.
Stroke: Find out the accurate plunger stroke (for example, 5 mm, 15 mm). The longer the stroke is in the solenoid of the same size, the weaker force will be provided.
Picking Up the Frame Type: There are two basic solenoid types: C-frame (having one open side) and D-frame (closed on all sides).
⚡ Step 2: Set Electrical Parameters
These settings determine the way your solenoid is supplied with electricity and how long it can work without overheating.
Matching Voltage: Usually frame solenoids use DC power. Therefore, it is necessary to pick a proper voltage to avoid damaging or inefficient solenoid work.
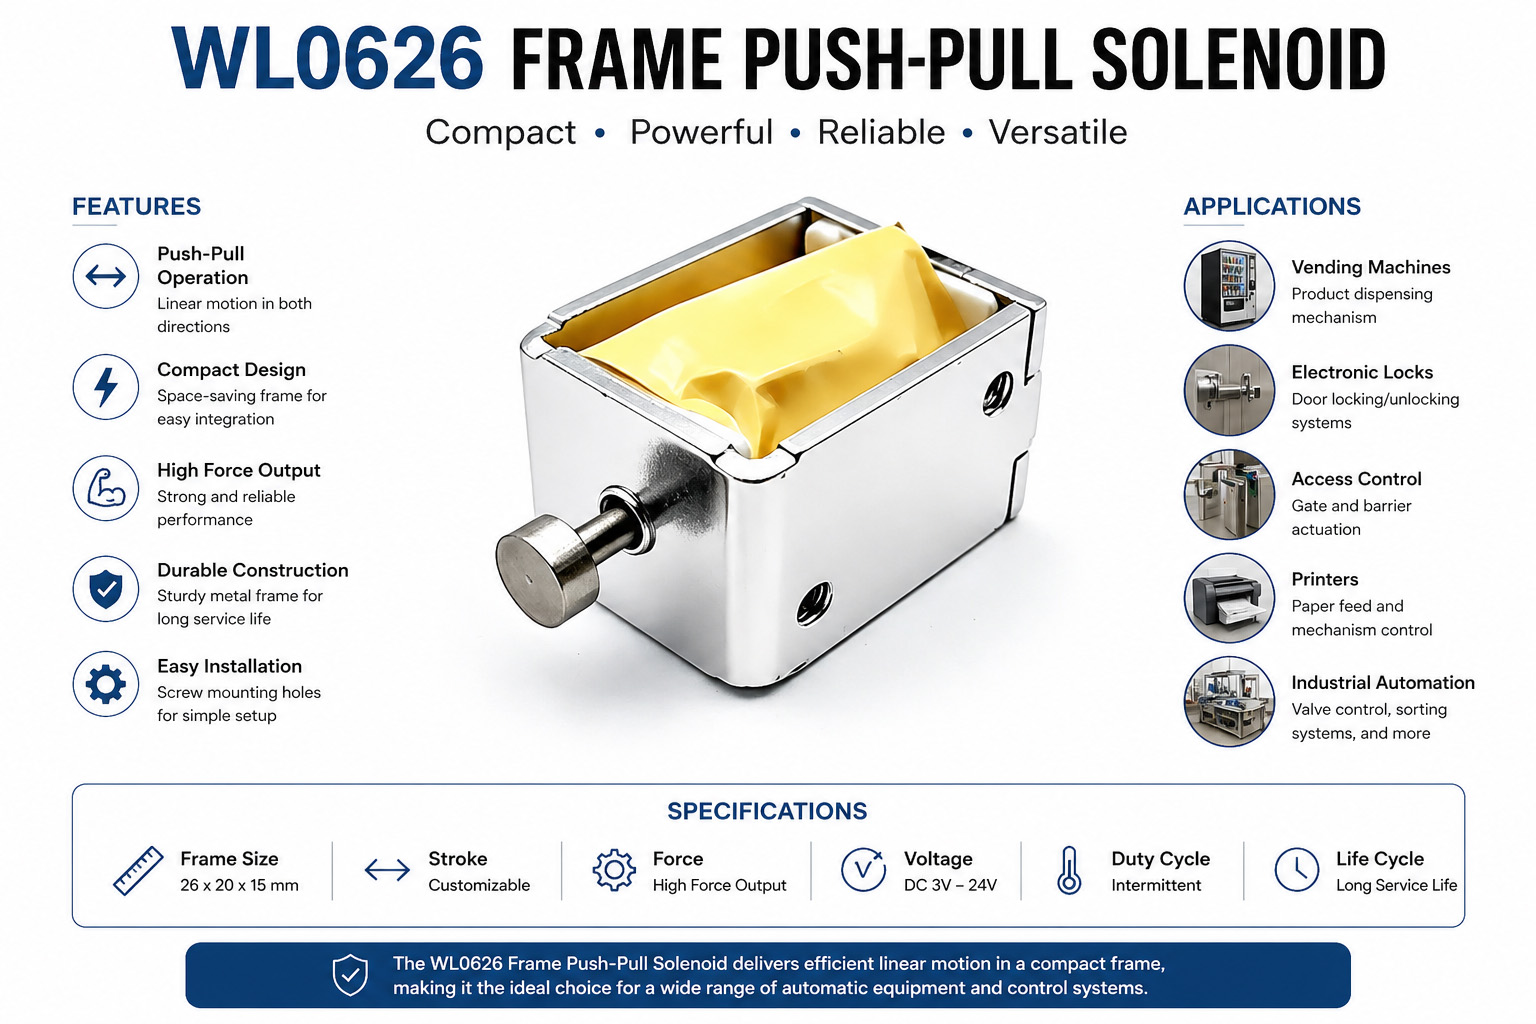
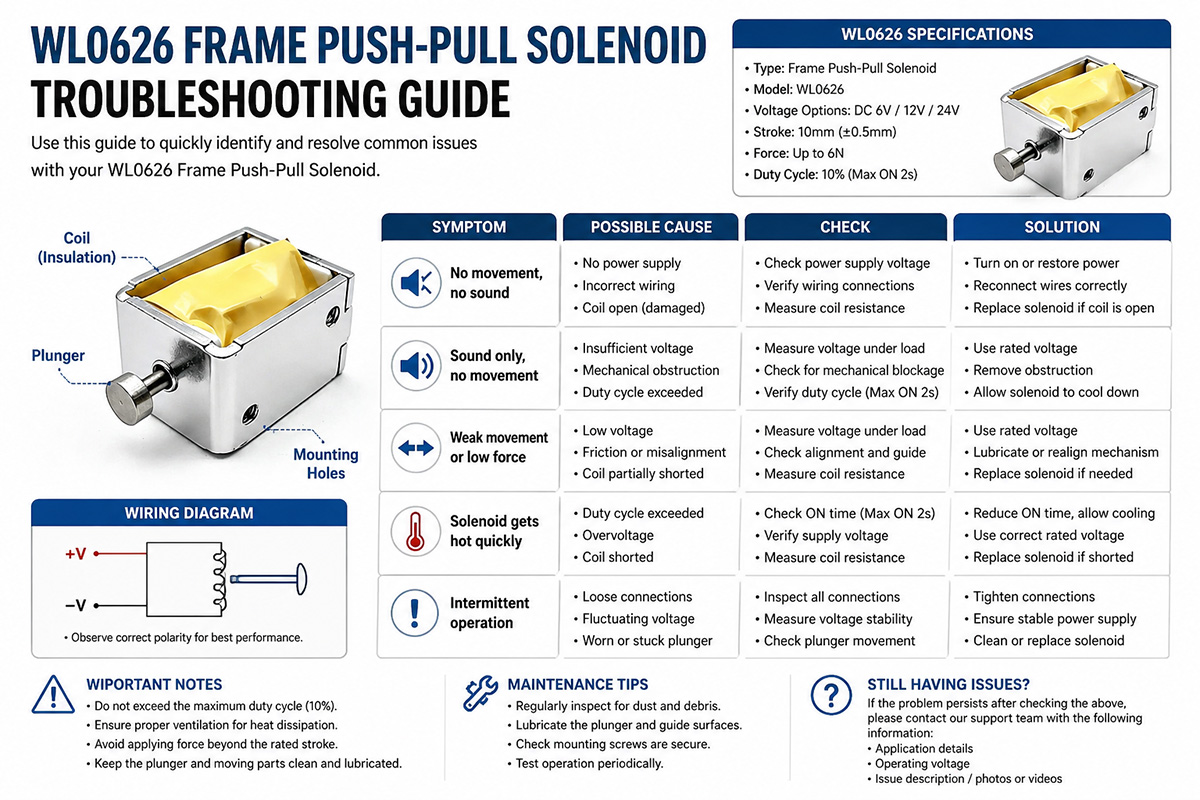
Knowing Duty Cycle: Duty cycle defines the proportion between “on” and “off” states (100% duty cycle means that the solenoid runs continuously and heats up). The percentage of 25% allows much higher peak forces as the coil has the time to cool during the “off” state. Exceeding the specified duty cycle is the main reason of solenoid failure.
🌍 Step 3: Consider Environmental Factors
“Is it a good choice for the environmental situation where you need to put it?”
Environmental protection: Basic IP40 rating allows using a solenoid in a clean place inside. For a wet place, you should pick a model with IP65 (dust and water resistant) or IP67 (dust tight and protected against temporary immersion).
Lifetime Rating: The ratings of solenoid lifetime differ from manufacturer to manufacturer. The lifetime rating of an average open-frame solenoid is 5 million cycles. But there are models whose lifetime exceeds 50 million cycles.
📏 Step 4: Measure the Size and Check Mounting
This step guarantees your choice.
Checking Physical Dimensions: Measure available space in your assembly and compare it with the length, width, and height of your solenoid.
Checking Mounting: Check the size and position of mounting holes of the solenoid and the place where you need to install it (M4, for instance)
💡Pro Tip. Reading a Solenoid Data Sheet
It is important to know what parameters are important while reading solenoid’s data sheet. Below you will find some important points to pay attention.
Force vs. Stroke Graph: It shows the force output on each stage of the process. With its help, you will be able to verify that your solenoid has enough force to accomplish the final goal.
Power at Various Duty Cycles: Some manufacturers provide power ratings for both continuous and intermittent usage. With their help, you can see how solenoid can withstand a load in short-term operations.
Winding Temperature and Insulation Class: This determines the ability of winding material to withstand thermal impact.
Summarizing, you should start with defining mechanical performance of your solenoid (stroke and force) and next find an electrical characteristic (voltage and duty cycle) that can meet these demands without overheating. Finally, you should check the physical parameters (size and mounting holes).
If you have a certain application in mind (e. g. locking, valve actuating or other), provide